



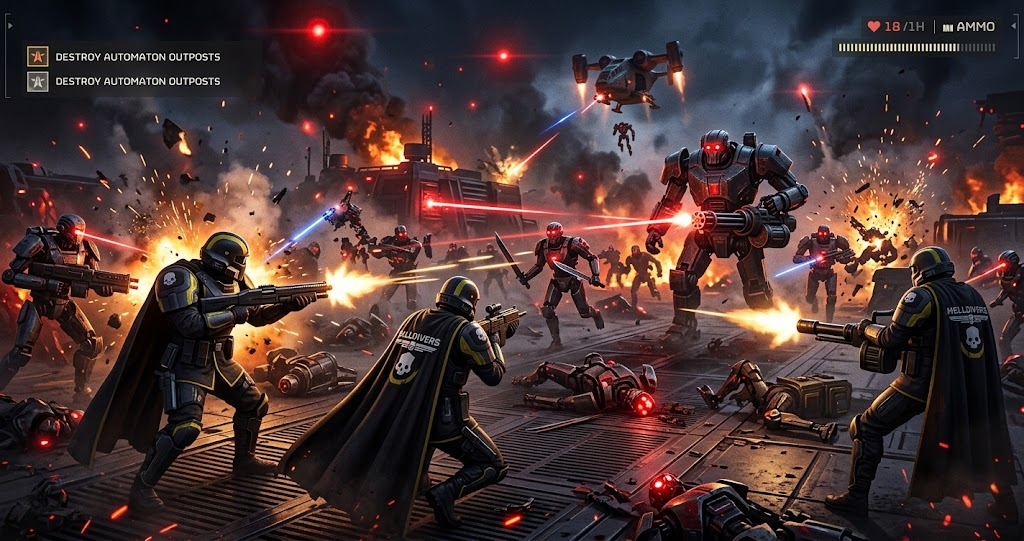
The Automatons in Helldivers 2 can turn a routine mission into a desperate fight for survival. These hostile machines use ranged weapons, armored units, patrols, and fortified positions to challenge even experienced Helldivers. However, understanding their weak points and combat behavior can make every deployment more manageable.
This guide explains who the Automatons are, how their main enemy types fight, which weapons and stratagems can help, and how to approach objectives on the bot front. Whether you are a new recruit or a veteran seeking better mission results, these tactics will help you fight more intelligently.
What Are the Automatons in Helldivers 2?
The Automatons are a hostile machine faction in Helldivers 2, the cooperative third-person shooter developed by Arrowhead Game Studios. Unlike the Terminids, which rely heavily on biological attacks and close-range pressure, Automatons often challenge players with firearms, armor, and ranged fire.
Their battlefield strength comes from their variety. Basic infantry can pressure you with gunfire, while heavier machines demand accurate shots or powerful anti-armor equipment. Meanwhile, patrols and outposts can turn a quiet approach into a prolonged battle if you allow enemies to call reinforcements.
The Automaton front therefore rewards cover, coordinated attacks, and careful target selection. Running directly toward every enemy usually wastes ammunition and exposes your squad. Instead, identify the immediate threat, use terrain to limit incoming fire, and decide whether fighting is necessary.
The faction’s units and mission details can change with game updates. Consequently, check current in-game descriptions and patch notes when planning a loadout for a particularly difficult operation.
Automatons Helldivers 2 Enemy Types Explained
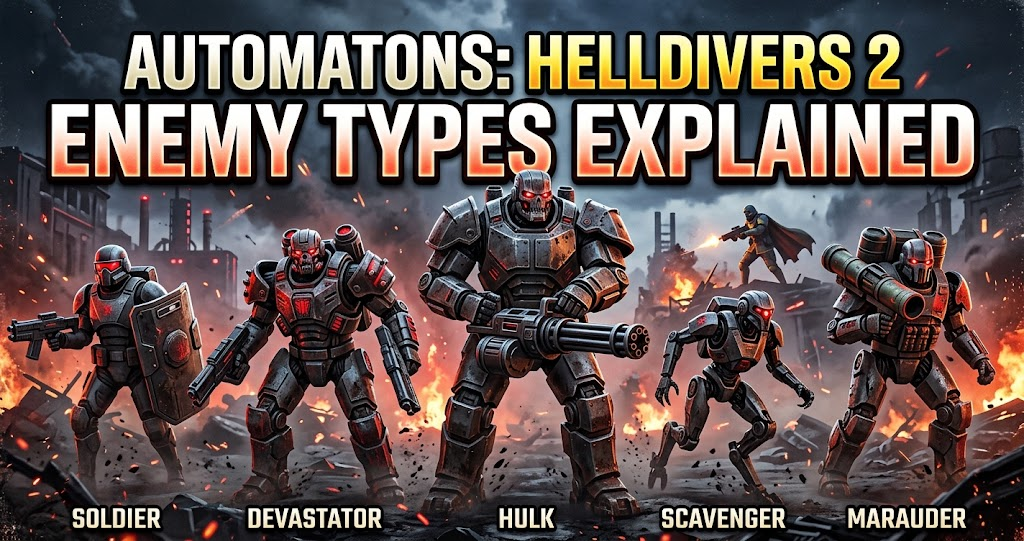
Knowing which machine you are facing helps you choose the right response. A light infantry unit rarely requires the same resources as a heavily armored walker or tank.
Basic Automatons and Troopers
Basic Automaton infantry, often called Troopers, are among the more common enemies on the bot front. They typically use ranged weapons, so several enemies firing together can quickly become dangerous in an exposed area.
Use cover to break their line of sight and eliminate isolated targets before they gather into a larger group. Accurate fire and controlled bursts can help conserve ammunition. Also, watch nearby patrols because a small fight can attract more enemies if you lose control of the situation.
Devastators
Devastators are larger, more heavily armored infantry units. Their variants can carry different weapons, making some particularly dangerous at range or during close engagements.
Aim for exposed weak points when you have a clear shot. The head is a useful target on many Automaton units, although the difficulty of landing that shot depends on distance, movement, and incoming fire. If a Devastator carries a shield, adjust your angle rather than wasting shots against its strongest armor.
Berserkers
Berserkers are aggressive melee-focused machines that advance toward players with dangerous close-range attacks. Their approach can become especially threatening when several arrive together.
Create distance before they surround you. A teammate can draw their attention while another player attacks their vulnerable areas. However, do not retreat into an unknown patrol or leave an objective undefended without checking your surroundings.
Scout Striders
Scout Striders are recognizable walking machines that protect their operators behind a front-facing structure. Their armor can make careless frontal attacks ineffective.
Flanking can help you attack more vulnerable areas. Depending on your weapon and the current game mechanics, explosive damage or suitable support weapons may also provide an effective response. Avoid standing still in front of a Strider while other enemies continue firing.
Heavy Automatons
Heavier enemies include powerful armored units such as tanks, Hulks, and Factory Striders. Each presents a different challenge, from sustained fire to dangerous attacks that can threaten an entire squad.
These enemies often justify using anti-tank weapons, precision support weapons, or offensive stratagems. Nevertheless, the right approach depends on the target’s armor, your available equipment, and the mission’s immediate demands.
Automaton Weak Points and How to Exploit Them
Weak points are essential when fighting Automatons in Helldivers 2. Shooting the largest visible part of a machine does not always produce the best damage, especially when heavy armor protects its front.
Aim for Exposed Heads and Unarmored Sections
Many humanoid Automatons have vulnerable head areas. Accurate shots can be more effective than spraying ammunition into armored body sections. This approach is particularly useful when you have a clear line of sight and enough time to aim.
However, precision becomes difficult when enemies are moving or firing at you. Take cover first, then aim when the situation allows. A teammate suppressing nearby infantry can also create a safer opportunity for accurate shots.
Attack the Rear of Heavy Units
Some armored Automaton vehicles and machines have vulnerable rear sections. Getting behind them may allow your squad to deal damage more efficiently than attacking the front.
Coordinate with teammates to distract the target or approach from different directions. Still, do not assume every glowing component or exposed panel works the same way on every enemy. Learn individual enemy behavior and consult the current game’s bestiary or community testing when a specific weak point is unclear.
Use Explosives and Armor-Penetrating Weapons
Heavy armor can resist ordinary bullets, so equipment choice matters. Anti-tank weapons and powerful stratagems can help remove high-priority targets, while explosives may work well against particular units or structures.
The most effective option depends on the target and the current weapon balance. Therefore, match your equipment to the mission instead of spending your strongest attack on a minor enemy.
Best Weapons and Stratagems Against Automatons
The best loadout for the Automaton front combines reliable primary-weapon performance with a way to handle armored threats. You should also consider whether your squad needs long-range fire, explosive damage, or tools for dealing with groups.
Primary Weapons for Bot Missions
Accurate rifles and other weapons that reward controlled aiming can be useful against humanoid Automatons. Their value comes from the ability to hit vulnerable areas while keeping enemies at a manageable distance.
Explosive or high-impact weapons may provide different advantages, depending on the enemy and weapon settings. Before choosing a primary weapon, consider its recoil, ammunition capacity, reload time, and effectiveness against the enemies you encounter most often.
A weapon that performs well in one situation may struggle in another. For example, a precise rifle can help against distant infantry but may not be enough to handle a heavily armored target without support.
Support Weapons for Heavy Enemies
Support weapons give your squad options for dealing with armored machines. Anti-tank launchers and other suitable high-penetration weapons can help eliminate dangerous targets, while some general-purpose support weapons offer a balance between infantry control and armor damage.
Check the weapon’s armor penetration and handling before deploying. Also, coordinate with teammates so your squad does not carry several tools for the same task while ignoring another important threat.
Offensive Stratagems
Airstrikes, orbital attacks, and other offensive stratagems can help clear enemy groups or destroy selected targets. They are especially useful when an outpost contains several enemies or when a heavy machine blocks your route.
Timing matters, though. Check where your teammates are standing before calling an attack, and allow enough space for them to escape the danger zone. A powerful stratagem loses much of its value if it interrupts a teammate or leaves the squad without a response to the next threat.
The following table compares common equipment roles when preparing for Automaton missions.
| Equipment Type | Main Purpose | Useful Situation | Key Consideration |
|---|---|---|---|
| Accurate primary weapon | Defeat light infantry | Controlled ranged fights | Aim for weak points |
| Explosive weapon | Damage suitable targets | Enemy groups or structures | Check armor effectiveness |
| Anti-tank support weapon | Counter heavy armor | Tanks and other large units | Manage ammunition |
| Eagle airstrike | Attack an area | Outposts and enemy clusters | Watch teammate positions |
| Orbital strike | Deliver concentrated support | High-priority threats | Consider cooldowns |
| Defensive stratagem | Protect or support the squad | Exposed objectives | Position it carefully |
The main lesson is to build a balanced loadout rather than rely on a single powerful weapon. Your squad should be able to handle ordinary infantry, armored threats, and objectives without wasting every stratagem on the first group of enemies.
How to Complete Automaton Missions More Efficiently
Combat is only one part of the challenge. The Automatons can also make objectives difficult when reinforcements arrive or when a squad remains exposed for too long.
Approach Outposts Carefully
Before attacking an Automaton outpost, observe the enemy positions and identify the most dangerous units. If the layout allows it, begin from cover and target enemies that could alert nearby forces.
A coordinated opening can reduce the pressure on your squad. However, not every patrol needs to be eliminated. If your objective lies elsewhere, moving around an unnecessary fight may save time, ammunition, and reinforcements.
Stop Reinforcement Calls Quickly
Automaton enemies may attempt to call reinforcements, creating a larger battle than your squad intended. Learn to recognize the warning behavior and respond quickly when possible.
Prioritize the enemy preparing the call if you can safely reach it. If reinforcements arrive anyway, avoid fighting in an exposed position. Move to better cover, control the immediate threats, and decide whether to continue the engagement or reposition.
Use Cover and Team Coordination
Cover is especially important against enemies that rely on ranged attacks. Walls, rocks, and terrain can limit enemy sightlines while giving you opportunities to reload or line up shots.
Stay close enough to support your squad without grouping so tightly that one attack endangers everyone. Communication also matters when calling airstrikes, sharing ammunition, or deciding which heavy enemy to target first.
Choose the Right Difficulty
Higher difficulties can introduce more demanding encounters and greater pressure from enemy groups. If your squad repeatedly struggles with the same mission, consider adjusting the difficulty while refining your loadout and teamwork.
Lower difficulty is not a failure. It can provide room to learn enemy weak points, experiment with weapons, and practice objective routes. Once your squad handles those encounters consistently, you can increase the challenge.
Common Mistakes to Avoid on the Automaton Front
One frequent mistake is firing continuously at heavily armored enemies without checking whether your weapon can penetrate their armor. This wastes ammunition and leaves you exposed. Instead, target a vulnerable section or switch to equipment designed for the threat.
Another mistake is fighting every patrol. Although defeating enemies can feel productive, unnecessary engagements consume resources and may delay the main objective. Choose battles based on mission requirements and the danger posed by nearby units.
Players also sometimes use offensive stratagems without considering their squad’s position. A poorly placed attack can block an escape route or injure teammates. Communicate before deployment and leave room for your squad to move.
Finally, avoid treating every enemy variant as identical. A tactic that works against light infantry may fail against a heavy machine. Learn the differences and adjust your approach as the battlefield changes.
Conclusion
Understanding automatons helldivers 2 encounters comes down to recognizing enemy types, targeting weak points, choosing suitable equipment, and using cover effectively. Light infantry requires a different response from tanks and other heavy machines, so a balanced loadout gives your squad more options.
Most importantly, work with your teammates and focus on mission objectives instead of fighting every enemy you see. Review your equipment after difficult deployments, learn from failed encounters, and adapt your tactics to the battlefield.
FAQs
What are the Automatons in Helldivers 2?
The Automatons are a hostile machine faction that fights Helldivers with ranged weapons, armored units, and fortified positions. They differ from the Terminids because many Automaton encounters reward cover, accurate shooting, and anti-armor equipment. Their units range from basic infantry to powerful heavy machines.
What is the best weapon against Automatons?
There is no single best weapon for every Automaton encounter. Accurate primary weapons can handle ordinary infantry, while anti-tank support weapons and suitable stratagems help against heavy armor. Choose your equipment based on mission difficulty, squad composition, and the enemies you expect to face.
Where should I shoot Automatons?
Aim for exposed weak points instead of automatically targeting the strongest armor. Humanoid units often have vulnerable head areas, while certain armored machines have weaker rear sections. Exact damage depends on the enemy and weapon, so adapt your aim to the unit you are fighting.
Are Automatons harder than Terminids?
The difficulty depends on your playstyle and mission conditions. Automatons often pressure players with ranged fire and armor, while Terminids frequently create threats through close-range attacks and swarming. Players who use cover and precision effectively may prefer the bot front, while others may find a different faction more comfortable.
How can I destroy Automaton outposts faster?
Study the outpost before attacking, prioritize enemies that can call reinforcements, and use suitable stratagems when several targets are grouped together. Coordinate your approach with teammates and avoid unnecessary fights. A well-planned attack can save more time and ammunition than charging directly into the strongest defenses.
For more updates visit: GAME ARENAX
